Fix Scratches on Old Photos Without Photoshop (Free)
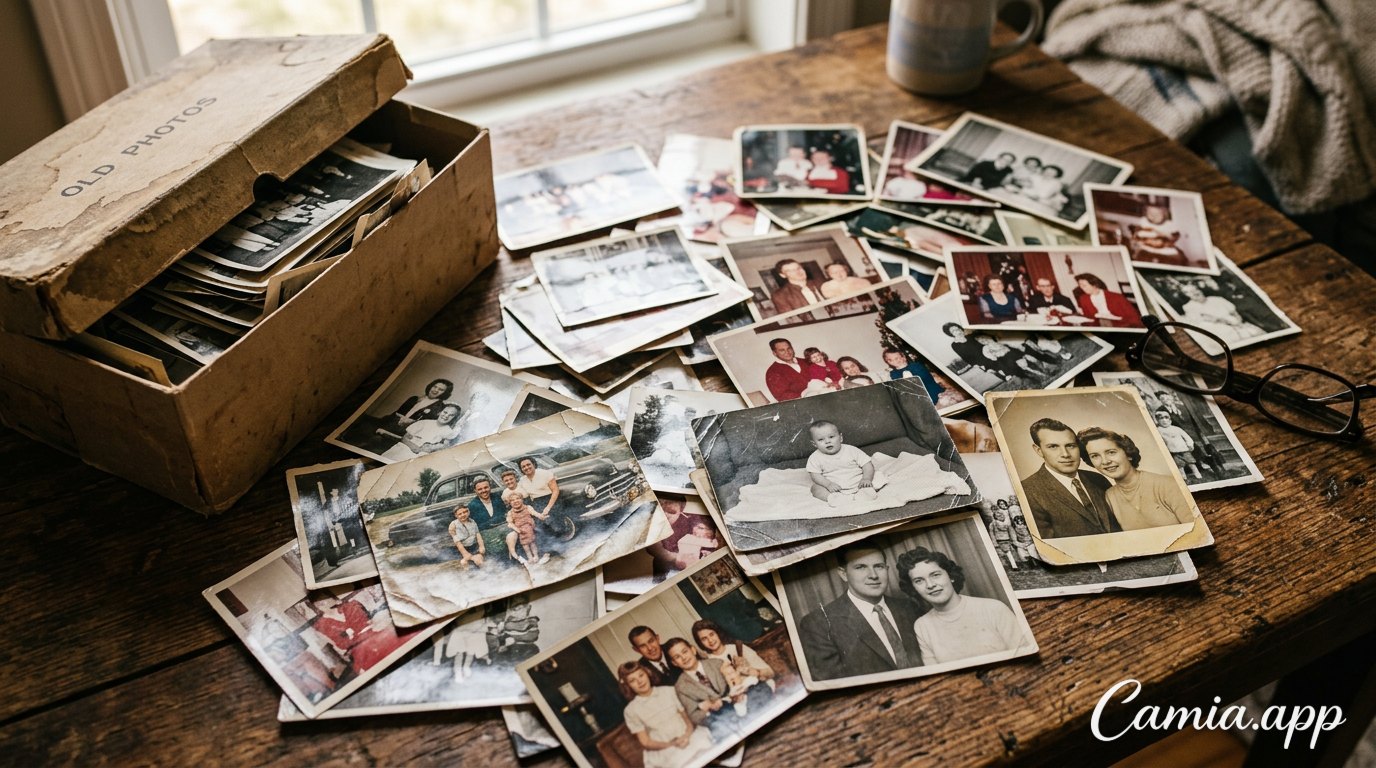
Grandma's wedding photo has a crack running right through her smile. Dad's school picture looks like a cat used it as a scratching post. (Maybe the cat did.) Good news: you can fix scratches on old photos without Photoshop, without a design degree and without spending a cent. All you need is a phone, a few minutes and a free AI editor.
Ready to rescue some memories? Let's go.
Why Old Photos Get Scratched and Torn (It's Not Your Fault)
Printed photos have a rough life. They get shoved in shoeboxes, stuck to albums, squished under furniture and passed around at family dinners by hands with questionable cleanliness.
Before you fix anything, it helps to know what you're dealing with. Different damage needs a slightly different approach.
The usual suspects
- Scratches and scuffs: thin white or light lines across the surface.
- Creases and folds: lines where the photo was bent, often with cracked color.
- Tears and missing corners: the dramatic ones. Sometimes a whole chunk is gone.
- Spots and stains: water marks, mold dots, fingerprints, sticker residue.
- Fading and blur: the picture has gone pale, yellow or soft over the years.
The good news? Most of these can be repaired digitally. And you don't touch the original at all.
 Fotos antiguas dañadas con rayones y esquinas rotas sobre una mesa de madera
Step Zero: Get a Good Digital Copy
This is the part everyone skips. Then they wonder why the result looks meh. A better copy means a better repair.
Scan it or photograph it
If you have a scanner, great. Use it. If not, your phone camera works fine for this job. Here's how to get a clean shot:
- Find soft, even light. Near a window on a cloudy day is perfect. Avoid direct sun and flash.
- Lay the photo flat. Put it on a table or a plain dark surface. Don't hold it in your hand.
- Shoot straight from above. Tilting the phone warps the picture.
- Kill the glare. If the print is glossy, shift your angle until the shine disappears.
- Fill the frame. Get close, but keep all the edges in view.
- Take two or three shots. Pick the sharpest one.
A quick tip: clean off dust with a soft, dry cloth first. Don't use water. Old prints are delicate and they hold grudges.
How to Fix Scratches on Old Photos Without Photoshop, Step by Step
Photoshop is powerful, but it also comes with a subscription, a steep learning curve and about 400 buttons. For family photos, you don't need any of that. An AI tool does the heavy lifting while you do the fun part, which is looking at the before and after.
Here's the simple way to do it with CamIA, a free AI photo editor that runs right in your browser. It works on your phone or your computer, with no download. There are also Android and iOS apps if you prefer them.
The quick restore
- Open camia.app in your browser.
- Upload your scanned or photographed picture.
- Choose the old photo restoration tool. It's built to fix scratches, sharpen faces and even colorize black-and-white photos.
- Let the AI work. Give it a moment.
- Compare the result with the original. Check the faces first, since that's what matters most.
- Save it. Export as JPG or PNG, up to the original resolution of your upload.
That's it. No layers, no clone stamp, no tutorials at midnight.
Not happy with the first try? Tweak it
AI isn't magic. (It's close, but it's not magic.) If a few marks survive, you have options:
- Run the restoration again on the improved version.
- Use the object remover to clean up what's left (more on that below).
- Fine-tune light and contrast in the manual editor.
Think of it as a team effort between you and the robot.
Fixing Tears, Creases and Missing Corners
Scratches are the easy part. Tears are the final boss. But you can still win.
If the photo is in two pieces
Don't tape it. Seriously. Tape leaves sticky residue and makes things worse over time.
Instead:
- Place both pieces flat, side by side, on a clean surface.
- Push the edges together as closely as possible.
- Take the photo from straight above, in even light.
- Fix the leftover gap digitally.
The seam will still show as a thin line. That's normal, and it's exactly the kind of mark the restoration and removal tools can clean up.
Use the AI object remover for stubborn marks
Some damage is more like a blemish than a scratch: a stain, a dark spot, a crease line, a ripped notch. For those, use CamIA's AI object remover.
- Open your photo in CamIA.
- Pick the object remover.
- Brush over the mark you want gone.
- Let the AI fill the area with what should be there.
- Zoom in and check the result.
A tip for better results: brush slightly past the edges of the damage, not just the middle. And work in small areas. Several small brush strokes usually beat one giant swipe.
There's also a quick erase that works without AI. It's handy for tiny dust specks on a plain background.
Describe the fix in your own words
Here's a fun one. CamIA lets you edit by simply describing what you want, like "remove the crease across the left side" or "remove the person on the left." It's handy when the damage sits on one specific part of the picture and you don't feel like brushing precisely.
Results depend on the photo, so try a couple of different wordings if the first one doesn't land.
Bring Faces Back to Life (and Add Color)
Removing scratches is only half the story. Old photos are often soft, faded and a bit sad-looking. Time to give them some sparkle.
Sharpen the faces
Faces are what we look for first in family photos. The restoration tool is designed to sharpen faces, so eyes, noses and smiles come back with more detail. After that, you can use the enhance option for better light and sharpness across the whole image.
Keep it natural, though. Over-sharpening makes grandpa look like a wax figure. Nobody wants that.
Colorize black-and-white photos
This is the part that makes people say "wait, what?" Black-and-white photos can be colorized with the same restoration tool. Suddenly the dress has a color and the sky has a mood.
A word of honesty: the AI guesses colors. It doesn't know that great-aunt Rosa's dress was actually emerald green. So treat colorization as a creative reconstruction, not a historical record. If you know the real colors, you can adjust them afterward in the manual editor with color and HSL controls.
Prefer to keep the vintage vibe? Try a black-and-white or film look from the presets instead. Or skip color entirely. Some photos are just better in monochrome.
Expand the frame
Did the photographer cut off someone's head? Did a torn edge eat part of the scene? CamIA can expand the photo beyond the frame, which helps when a corner is missing and you want a fuller picture.
Mistakes to Avoid When Restoring Old Photos
Learn from everyone who came before you, and from their pain.
- Editing the only copy. Always keep the original print safe. Work on a digital copy.
- Scanning at low quality. Blurry input gives blurry output. Start with the best copy you can get.
- Going too hard on filters. Heavy effects can wipe out natural skin texture and make people look plastic.
- Rushing the zoom check. Look at the result at 100%. Little leftover marks hide in the corners.
- Using tape. We said it once, we'll say it again. No tape.
- Forgetting to back up. Save the restored version in two places, like your phone and a cloud folder. Future you will say thanks.
Share Your Restored Photos
Once your photo looks great, share it. CamIA lets you share directly to WhatsApp, Instagram or TikTok. Family group chats tend to explode with emotion when a faded wedding photo suddenly looks new.
You can also print it, frame it or add a little text or a border with the built-in text, stickers and frames. A restored portrait in a nice frame makes a surprisingly emotional gift.
FAQ
Can I really fix scratches on old photos without Photoshop for free?
Yes. CamIA is free to use and works in your browser. You get free points every month, and guests can try a few AI edits before signing up. If you restore many photos, you may use up your free points, so start with your most important ones.
Can AI fix a torn photo?
It can help a lot, especially with cracks, creases and small missing areas. For a photo torn in two, line up the pieces on a flat surface, take one clean picture, then use the restoration and object remover tools to clean up the seam. Very large missing chunks are harder, and results will vary.
Should I scan the photo or take a picture with my phone?
A scanner usually gives the best quality. But a phone photo works well if you use soft, even light, shoot straight from above and avoid glare. Either way, a sharper starting image gives a better result.
Will restoring a photo change the original?
No. You're editing a digital copy. Your original print stays exactly as it is, so store it somewhere dry, flat and away from sunlight.
Can I restore black-and-white photos and add color?
Yes. The restoration tool can colorize black-and-white photos. Just remember the colors are the AI's best guess. You can fine-tune them afterward in the manual editor if you know what the real colors were.
Time to Rescue Those Memories
That dusty shoebox in the closet isn't getting any younger. Neither are the photos inside it. The good news is you can fix scratches on old photos without Photoshop in just a few minutes, using nothing but your phone and a bit of curiosity.
Pick one favorite photo. Scan it. Upload it. Watch the years melt away.
Try CamIA free at camia.app and give your old photos a second life.